

One of the most important pieces of equipment to have is a kiln. You can't get to far without having a kiln, especially if you also want make pipes. It is a lot harder to go to a local studio to have them fire pottery for you, plus not everyone will be welcoming of pipes. On this post we will go over a few things to consider before getting a kiln and why you should choose a used one or maybe a gas kiln.
I have a Cress kiln similar to the one above and it is from the late 80's. I have fired it well over 100 times and only changed the elements once so far. The reason to go with a used kiln is because they are so much cheaper. A kiln this size now would cost at least $1,200. You can usually find a used kiln on your local classifieds such as Cregslist or in my surrounding states we have KSL classifieds. You won't always find used kilns near you so also check with your local pottery store supply house to see if they know where to look.
Above is one on my local classifieds. You should only spend about $250 (give or take $100) on average for a WORKING kiln (I wouldn't buy or even consider if the seller doesn't know if it works or can test it). A few things to be aware of, check to make sure the kiln brick is not to badly damaged. There might be some cracking on the very bottom of the kiln, but that is common and nothing to worry about.
Make sure it has kiln posts and shelves or you'll be spending more on those then the used kiln. Look at the elements and make sure they don't look like they are about to disintegrate. If you ever need to replace the elements, only buy Euclid Elements from The Pottery Store.


And here are my elements after well over 50 uses.
But, just like me you are more then likely getting ahead of yourself here. We need to focus on the electrical. Kilns need 220 volts of electricity and that is a bit difficult to have a spare outlet to hook this up to. Your dryer might be 220, and your oven if it is electric will be 220 volt. If you don't have access to a plug that can handle that then you will need to set it up.
Now you could totally DIY this and there are plenty of videos on how to do it. BUT it is extremely dangerous to do this if you don't know what your doing, it could literally fry your ass. I forked up about $400 to have someone come out and run a 100amp sub panel from the main electrical box to the garage . It is worth hiring a professional to avoid serious harm to yourself or your electrical system (Once my finger slipped and touched the 220 volt plug when taking it out of the socket and holly hell, I could feel that hit my heart instantly, please be careful). You can also do what you see above and have an electrician just run a 50amp (not 30) breaker from your main box to your kiln. That is also a lot easier to DIY then a sub panel. So if you can set that up then your kiln will be near by more then likely. For example my kiln is outside under a metal roof.

So lets say that the electric kiln route wont work. You can also consider a gas kiln but they are more money. The cool thing about gas is that you can use natural gas from your house or propane. As well as I keep my two gas kilns outside.

I bought a new smaller version of this one above for $1200. This isn't a bad deal by any means for gas but it is always worth talking them down to get it out of their way. When considering a gas kiln you can either buy one built for gas and that is a good choice. Or if you don't have much money then you can buy a cheap or even broken electric kiln and convert it into a gas kiln with this summit gas kiln converter kit.
So if you want to take the gas route, then you should see if you can connect to the side of your house where the gas comes in. If you use propane you will want at least two 100Lb tanks. The problem with propane is you have a limited supply, and that's why you need two incase one goes out. Plus if it is freezing outside and you don't have a full tank, the tank will freeze an not work until defrosted.
Now electric kilns can be confusing if the electrical inside is having issues, but the old ones are easier to figure out. When it comes to gas kilns, they are their own simple beasts. You would think it is easy to run one or even set it up but it isn't. For example at first I didn't know anything so I just went for it with natural gas and propane. I eventually went to natural gas from propane because it was to hard to put the tanks in the car and then drive to fill them up (like $40 to fill 100Lb tank up, so not worth it). Plus you need a gas limiter to use a propane tank ($80-$125). So this is an option if nothing else is acceptable by the head of household because you can keep it away from everything.

Here is an example of doing it away from the house in a DIY raku kiln that can either be made with chicken wire and high temp ceramic fiber or you can do the trash can version. I think we have covered more DIY options then I meant to but now you know that there are many options to choose from to fit your needs and situation. Lets go back into setting up your gas kiln to natural gas. Below is a picture of my 12 cubic foot gas kiln and next to it covered up is my little Olympic gas kiln (here is a link to watch me switch it from the Olympic from propane to natural gas: https://www.youtube.com/watch?v=_w22nyVzagk )

In the end of that video you can see some of my plumbing work to set up the quick connect gas line. With gas there are no live wires that can shock you so look it up and do it yourself. So with gas it can be confusing to know how much fuel is needed to run the kiln. First unlike propane, we don't need a limiter because there is already one on the gas coming into the house. Secondly, the only time a quick connect is acceptable is for smaller kilns like my Olympic. For the bigger kiln you need a thicker line. My line to my bigger kiln is 1" cast iron that only runs 10ft and then drops down to half inch right under the kiln as it feeds into the 4 burners. The longer you run it the less power you will have. The smaller the line, the less power you will have. So for hooking up your kiln it will vary but follow that guideline of thicker tube and shorter distance.
When hooking up your gas line, you first will turn off the gas to the house and bleed the system by running hot water or a gas stove (to release the pressure of gas still in the lines. Assuming you figured out what you need, you will begin to remove that little square plug located on one of the tubes to your house. So you might need some 90 degree tubes to get it to go into the direction you want but we also need a shutoff valve just for the kiln. Use the yellow gas line plumbing tape to seal the threads. You can run it underground if your paranoid but I didn't, so you don't need to worry about that.

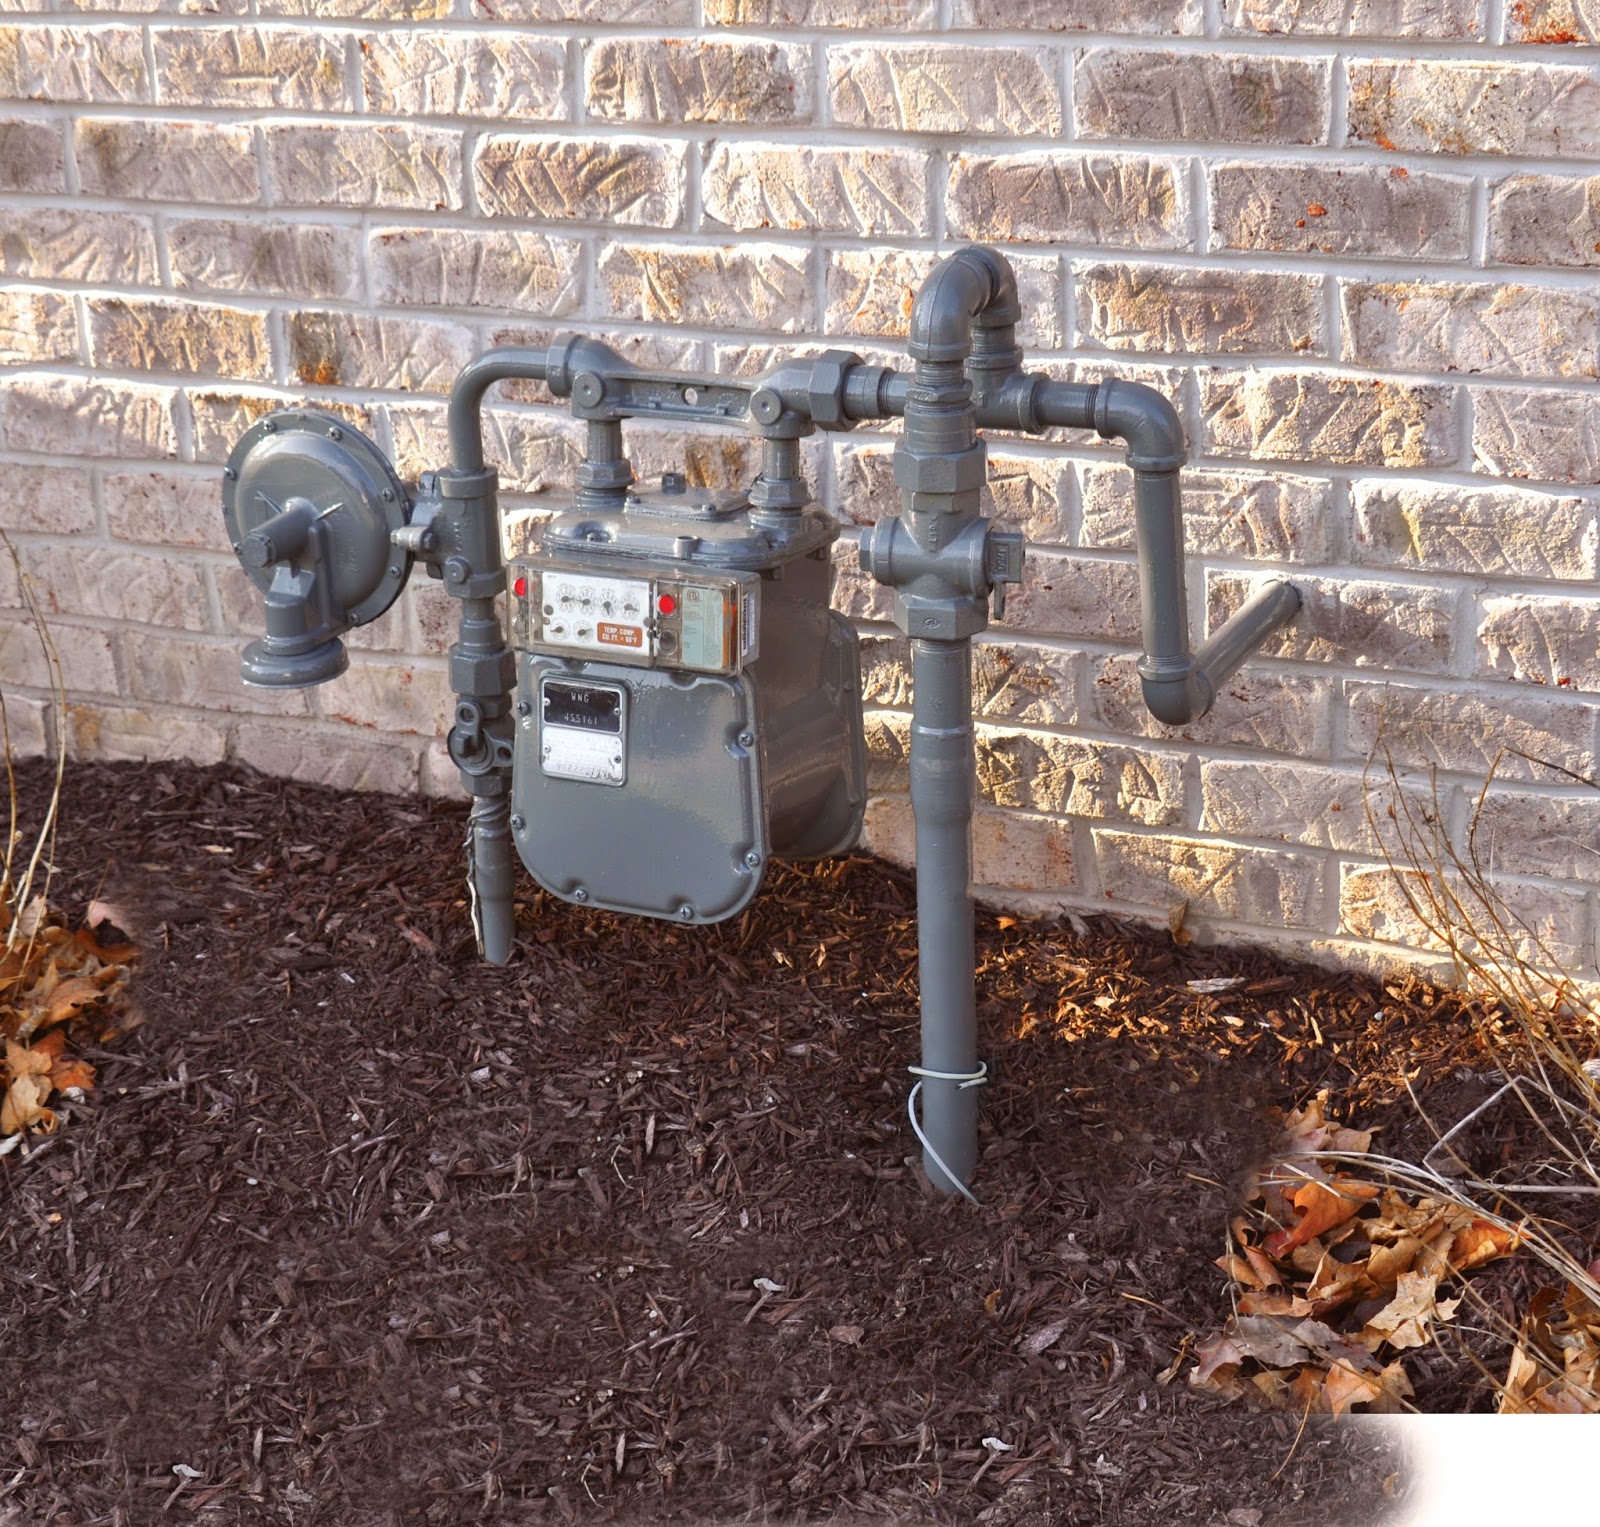
Here is a screen shot of my set up from that video. You can see the gray gas line coming up and at the top it has a Tee where I unscrewed the square cap and then added another Tee for me to add both of my kiln lines. You can see the yellow tape and the shut offs that will be needed. From there you run it to your kiln and the kiln has its own tubes to attach to the burner and another shutoff.
So an electric kiln is normally automatic meaning you load it and start it up, and then it will turn off on its own when it is done. With a gas kiln it is all manual, you need to keep an eye on it and turn it up as needed until it is ready to turn off. Also the burners usually need something to deflect the flame so it stays in the kiln instead of going straight up and out the kiln. You will need to experiment to figure out a gas kiln and how to run it. As for electric it is easy. So for beginners it is ideal to go the electrical route, but, it might be cheaper or more reasonable to go with a gas kiln. Now you have the knowledge you need to make a decision on the most important piece of equipment an upcoming potter can buy.


Ahh, kilns are awesome, I hope this post helped.
1 comment
I have been searching for the summit gas kiln converter kit and have been unable to locate them. Since you have mentioned them in your article do you have any leads that I can follow to locate one?
Jon Macemon on