

We have all been there using the buckets to pour our slips. Maybe the buckets are heavy or spill a little more than you want outside the mold instead of inside it. Well, we have your solution, and it will be a game-changer for you. Do note that you will need to spend around $200 to set this up, but we will make sure to cover the most frugal route possible.
Now take a look at the bucket above. In theory, this is what we will be making, but ours won't cost $450. We recommend using a barrel instead of a 6-gallon bucket. It depends on how much slip you plan on using. It might be easier to find 10-gallon buckets rather than a 35-gallon barrel. But if you want a barrel, ask local ceramic shops/studios or any manufacturing facilities because they order many kinds of materials in barrels and then throw them away. That is how we got ours and recommend you do the same. So let us start with a barrel or bucket.
You will want a barrel that has a lid and can be removed. As the slip sits, you will need to mix it, and therefore, having a lid to reach your mixing drill down into it is a must. Plus, it will preserve the slip for many months so that it won't dry out. It would help if you had a metal mixing blade of some kind and a drill. Next, we will go over the mechanical components we will need. First will be an air compressor.
The air compressor is a 3-gallon air compressor we use right now. It is just enough to get the job done, and we don't recommend a smaller compressor (unless you are using a bucket and want to save money). It can get complicated for the slip to move if the air compressor doesn't have constant pressure. We run our air compressor at about 40 PSI for a steady stream. But now we need to talk about the pump that will help move the slip, and this compressor feeds air to that pump.
The pump is a self-priming double diaphragm pump. We use this brand called Flowjet, and unfortunately, the price has gone up a ton on these. Spend around $100 on a pump but look for sales (look at places like ZORO or Kleen-Ritecorp) because I got mine for about $85. You will have to shop around, but it will work perfectly as long as it is an air-operated double diaphragm pump. I have had mine going for 5 years and no problem. Below is one I found on for about $113 but is a little harder to set up the tubing. Plus, I can't recommend this because I've never used it.
As long as the pump can move 5 gallons per minute or more, then you should be good. Also, pumps can only move liquids so far in the distance. For example, ours is a 5GPM pump and is only rated to carry a little over 20ft of fluids total. Not all pumps will have this listed, so keep that in mind for setting up our tubing. Before we put it all together, let us cover the pump gun.
You can buy these fuel pump guns on eBay/Amazon or do what I did and look for a local diesel fuel pump supplier, or where they will have everything used for trucks with onboard fuel reserve pump systems. Make sure you get a plastic gun because the metal ones don't like clay. I guess metal will work because I see them sold on professional systems, but I have heard otherwise. So let us get to tubes and hardware so we can hook everything up. Do note that you really should go to a hose supply store for all these parts to make sure they are correct for what you need. Anything you can't find will be online. Here is the list:
"1/2 Male Pipe Thread Adapter"
(this part is only needed if you buy the blue pump, the black one has the barbed adapter built-in)
"1/2 x 1/2 x 3/4 Barb Reducing Tee"
(you'll only need one of these)
"1/4" hose adapter plug compressed air couplings."
(2 of these)
"3/4 inch Bulkhead Female" (x1)

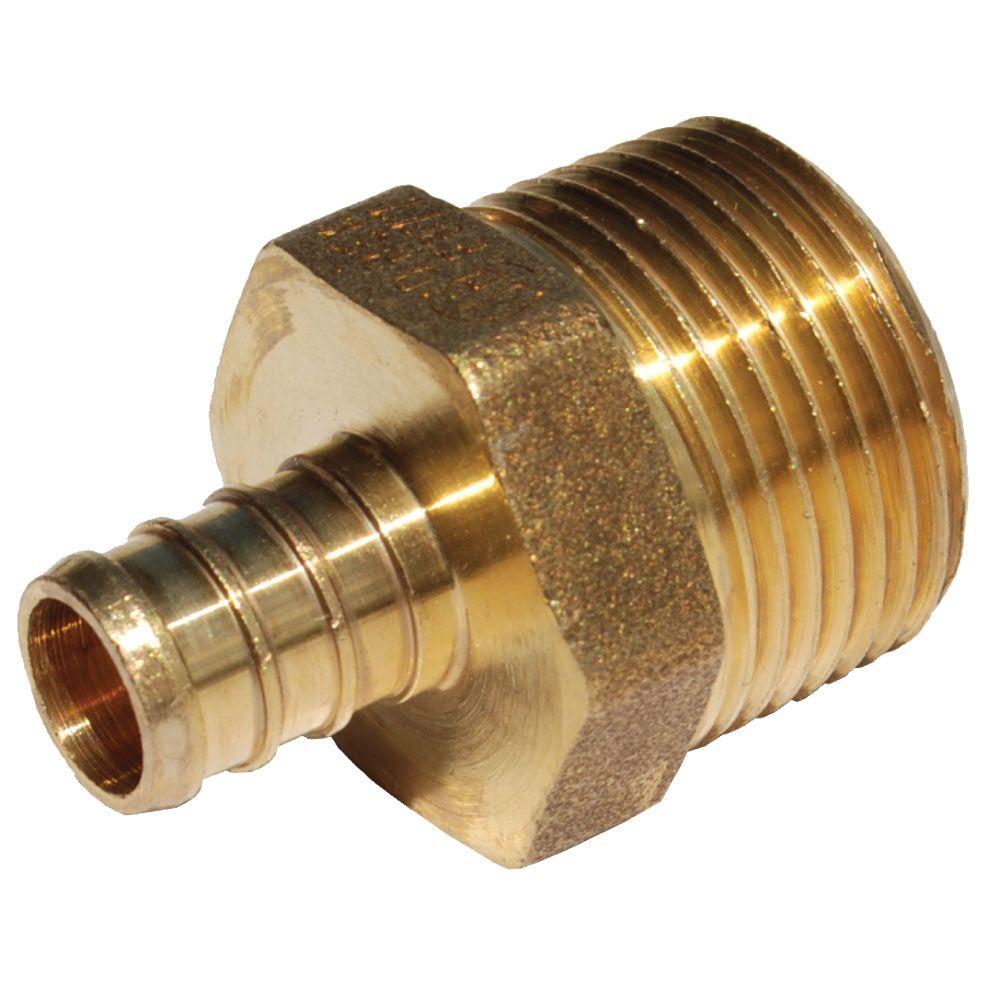
"1/2 inch PEX to 3/4 inch Brass Male" (x1)
(make sure this will fit into your bulkhead before you buy it)
"1/2 inch and 1/4 inch Vinyl Tubing"
(20ft or less of 1/2")(For the 1/4" tube, 5ft or enough to reach compressor to pump)
(thickness of the tube will determine how stiff the line is, a thicker line will prevent kinking, thinner tubes will kink more often, but air compressor hose should be a standard thickness)
"Teflon Tape"
"Kitchen Sealant"
"Hose clamps"
As you can see above, we will need a handful of components to make this work. It is a bit complex at first sight, so hopefully, I can make this clear. First, we need to drill a hole in the bottom of your barrel or bucket, as you see in the picture below. You will want to use a drill and a bit that fits your bulkhead. So I have listed a 3/4" bulkhead, so you might be able to work with a 3/4" bit. Drill that hole. Then we need to drill another spot closer to the top (about 5 inches down from the top of your barrel, or if it's a bucket, then only do about 2 inches) for the slip to be pumped back into the barrel. This top hole only needs to fit your half-inch tube. So drill with a 1/2" bit for that.

"Bulkhead with rubber washer inside and outside" (usually only one washer inside)
Unscrew the nut from the bulkhead and remove the washer. Now since a barrel can hold hundreds of pounds of slip (depending on the size, but buckets may not need this extra sealant step since they can't have much slip), I don't trust these to prevent leaking (it should). You can put a thin bead of the silicone kitchen sealant inside and outside the hole you cut. Use Teflon tape to wrap around the bulkhead threading (look up how to use Teflon tape if you have never used it). Place the bulkhead through the hole, go inside your barrel/bucket, and put the washer on, followed by the nut. Tighten the nut with wrenches, one on the inside nut and one on the outer part. Allow the proper time for the sealant to dry before putting slip in (Read the sealants drying instructions).
"Most bulkheads are plastic, but we recommend using brass to match all other hardware."
Let us go to the air compressor tube that supplies the air to the system. We need a line that starts at the air compressor so it can feed air to the pump. The tube will be 1/4" vinyl or something similar. You will need two 1/4" hose adapter plug compressed air couplings. You will also need two hose clamps to tighten the hose around the hose adapter part of the brass fitting. Put your clamps on first, and then insert the adapter. Finish by tightening the clamps.
Now one part will connect into the compressor port, and the other end will insert into the pump's air inlet onto the 1/2" tubes moving the slip through them. First that there will be some build-up of slip on the inside of the tubes over time. It won't cause many problems, but you will need to turn up your PSI when it sits for some time to force it to move along. You can also take it apart every year or two to clean or even replace them. Quick question, have you ever replaced the fittings on a garden hose? Well, this is the same thing, just with a different type of hose. Look at the example below.
Select our 1/2 inch PEX to 3/4 inch Brass Male adapter. We will start by wrapping the Teflon tape around the male threading. Using two wrenches, tighten the male fitting into the female bulkhead. Then as you see, you have the hose clamp on first and then force the fitting into the tube. (Our male adapter will be in place of where you see the garden hose attachment being inserted) Once it's in there, tighten the clamp. From here, our tube will run to the inlet port of our pump. You want to have your pump as close to your barrel/bucket, so you don't have to run much tubing(mine is about 2 feet long). So this is where you have to decide if you need to hook up the 1/2" Male Pipe Thread Adapter or just run the tube right into the pump and clamp down. If you need to hook that up, it will be the same way as the last step. Start with the Teflon Tape.
You will need to do this for the inlet and outlet if using the blue pump style. As you can see in the picture below, they had to screw two threaded pipe adapters at the top outlet and the bottom inlet ports to hook up to their pump. Again remember to use Teflon tape around your adapters threading, then tighten them in using wrenches. Get your tube connected to your bulkhead and cut it to the length needed to reach your pump. Put the hose clamp on and slide the tube over the barbs of the inlet port. Tighten the hose clamp. (I suggest setting your system up with it secured to a table and your barrel right up above on the table too)

Our next part will be to incorporate our barb reducing T to hook up the pump gun. So let us start with the pump gun. The tube that attaches to the bottom of the gun is usually a 3/4" tube. Which is why you need the 3/4" to 1/2" Tee. Same concept, get 1 foot of 3/4" vinyl tubing. Add two hose clamps to each end, and then force the tube over the guns barbs and tighten the clamp. Then put the tube onto the brass Tee and tighten that clamp too.

Now from here, we will want to run one 1/2" tube from the pump outlet to the brass tee and then another tube from the other side of the tee into the top hole we cut in our barrel/bucket. I ran the tube from the pump to the tee at about 8 feet, then from the tee to the barrel at about 10 feet (length will depend on your studio and how far your molds are away from the pump). The same thing applies, put your hose clamps on, slide the hose over the barbs, and tighten the clamps. FYI, these fittings are used for PEX plastics. Just keep in mind, you want this system to be a continuous loop, so as long as it looks like it will send all of your slip back into the barrel, then your good to use this (other than when you pull the gun trigger, then it will flow out).
I am giving you this guide to know the concept, but it comes down to your budget and needs. Hardware may be adjusted to your needs or liking (you could even be able to get away with plastic hardware instead of brass, but you risk breakage at the exchange of cheaper parts). When it comes to the pumps, there are single and double diaphragm pumps. As it sounds, the double diaphragm has two diaphragms, whereas the standard has one. I only know a little about these pumps, so do your research, but it sounds like you will have half the power with a single. It will pump half as far in the distance and might not like handling our thick slip. Also, metal pumps might not be corrosion resistant like plastic pumps such as our FlowJet. So try for the double, but it's all on you.


"Single Diaphragm" "Double Diaphragm"
That is it, and boy, what a problematic post this was to make. I didn't realize how complicated this was until I thought back to spending an hour in the hosing store trying to figure it out. So your welcome in advance 😉, and in exchange, all I ask is that you share the results of your setup with me using some pictures. Email them or send them to me on social media @ceramicsmokeware
Hard to see, but this is mine:

4 comments
The process of slaking clay to make it into slip is a simple one. Step one is to have a 5-gallon bucket filled 60-75% with your bone-dry clay then add water until it’s a few inches below the rim. Check out our website for more information.
Nirmala Pumps on
jimmy on
Can you give me some information on the recipe you use for the clayslip on this double diaphragm pump used
Victor Sultana on
Thomas Simonton on